

If there were such a thing as extreme cookery, I think I'd be a champion. You know, baking under dangerous conditions, high-speed frosting, using spatulas to fend off oncoming missiles... all hypothetical examples, obviously. Of course I don't live in a madhouse.
The thing is now, I don't know how to cook in normal conditions. I'm so used to stepping over brawling sisters on my way to the Kitchenaid that when the kitchen is quiet and empty I'm quite baffled, and keep checking behind doors and under tables in case someone's planning an ambush. Every recipe I make comes with mental breakdown as standard, and if there's no one else around to cause it, I find I've started sabotaging myself.
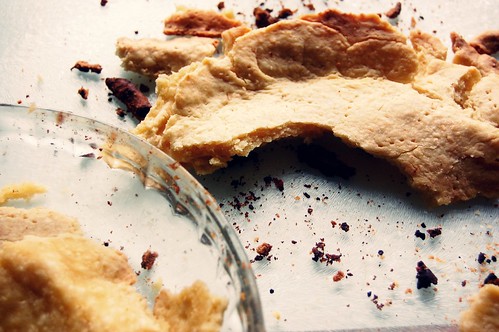
There's no excuse. Perhaps I felt I was having too easy a time of it? Perhaps I was subconciously un-nerved by my serene and stress-free morning in the kitchen, and felt I should dump my pie crust out on the counter just to stop myself from getting too complacent? Perhaps I had been lulled into a false sense of security and totally disengaged my brain as a result, causing me to - I wish I was kidding - TURN MY PIE DISH UPSIDE DOWN to try and brush away the messy crumbs from the trimmed edges?
I'm getting hacked off again just thinking about it.
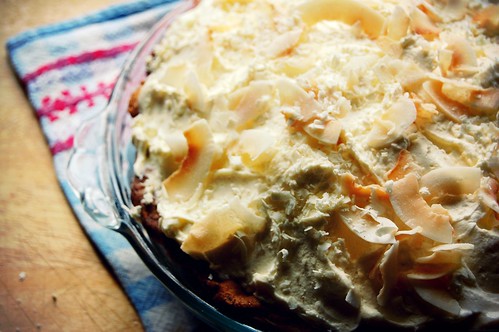
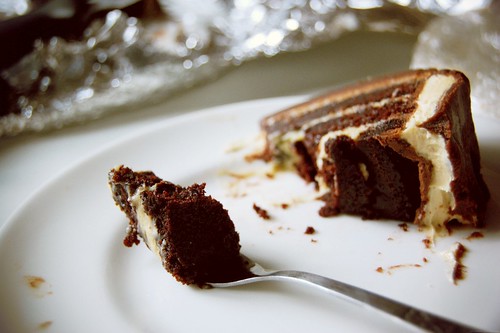
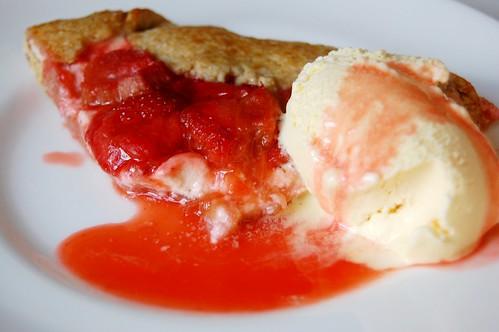
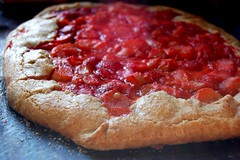
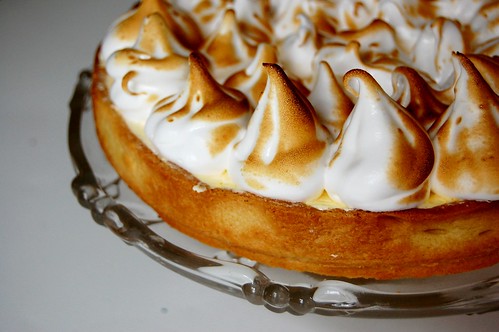
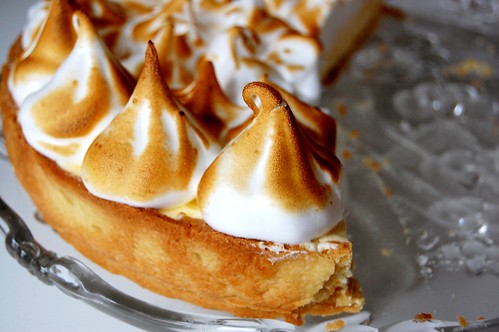
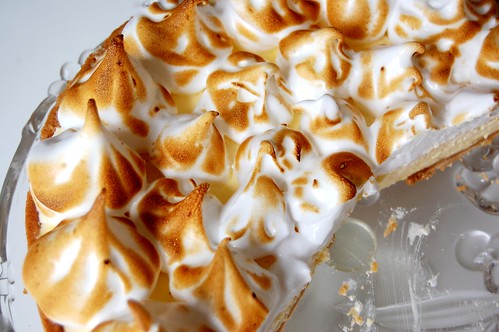
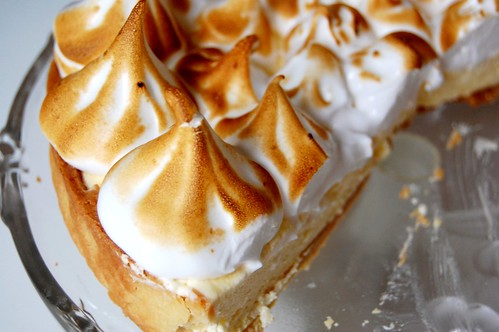
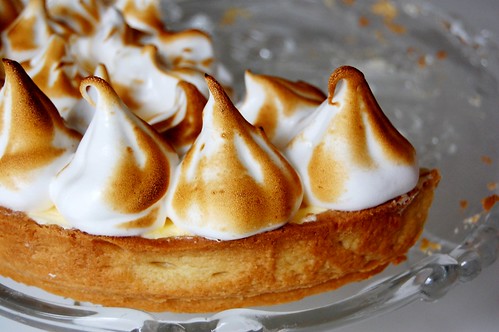
Usually I'd take this sort of thing as a sign that I'm not destined for culinary success on that particular day, and would either go back to it some other time or ditch the recipe - but I had a potluck dinner that evening, and had already made the pie filling, and didn't have a lot to lose by baking up another rush-job coconut crust. I mean, apart from my sanity, and other things I wouldn't really miss. As a result my pastry is a bit of a mess, but nothing that can't be fixed by a mound of sweetened, vanilla-scented whipped cream.
So, yes. Extreme baking: I'm pretty good at it. Regular baking?
Not so much.
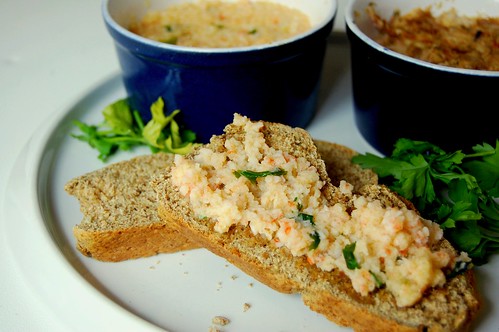
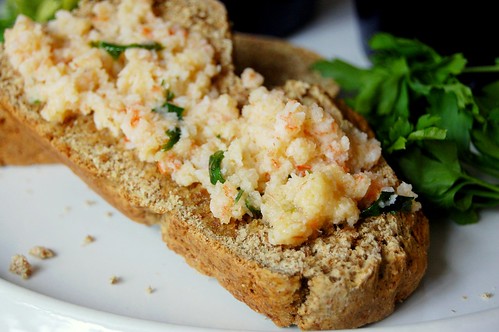
![bounty bar filling =]](http://farm3.static.flickr.com/2653/3940327885_a107b279a6_m.jpg)
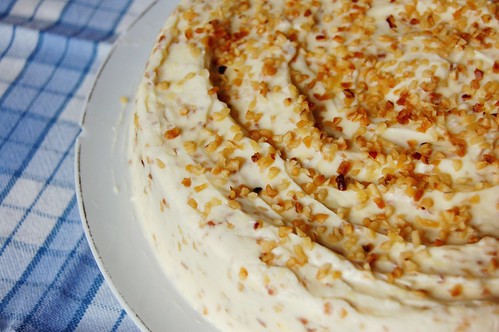
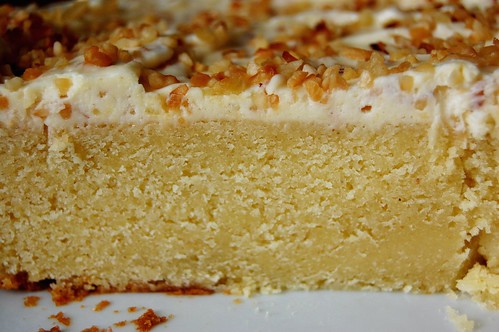
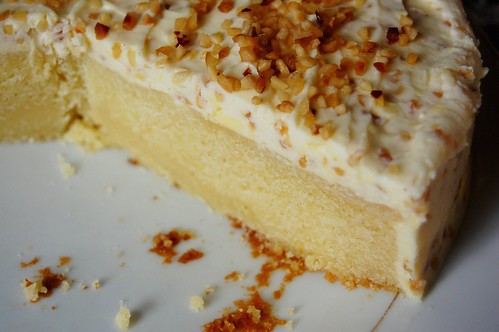
Triple Coconut Cream Pie
Tom Douglas’ Seattle Kitchen
(Makes one 9-inch pie)
The good news is that this pie is pretty simple to put together, provided you remember to switch your brain on beforehand, and is completely delicious - and apparently, rather famous at Tom Douglas' Dahlia Lounge restaurant in Seattle. I've never set foot in Seattle, but it went down equally well in a sleepy Northern English village at our potluck dinner. Of the coconut filling, my friend Leah declared happily, 'it tastes just like the filling of a Bounty bar!', and I had to explain that Bounty bars tasted of coconut, rather than coconut tasting of Bounty bars.
This was the only part of the dinner conversation that wasn't about religious theme parks or Alice's shorts, so you're lucky I have anything suitable to report at all.
For The Coconut Pastry Cream:
480ml (2 cups) milk
480ml - don't know the weight, sorry (2 cups) dessicated coconut
1 vanilla bean, split in half lengthwise
2 large eggs
110g (1/2 cup plus 2 tbsp) sugar
3 tbsp plain flour
60g (1/2 stick) unsalted butter, softened
For The Pie:
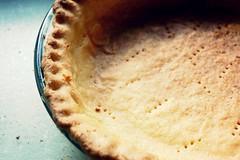
One 9" Coconut Pie Shell (recipe below) pre-baked and cooled
600ml (2 1/2 cups) heavy cream, chilled
60g (1/3 cup) sugar
1 tso pure vanilla extract
For Garnish
60g (2oz) toasted flaked coconut - or unsweetened "chip"/large-shred coconut (about 11/2 cups)
Chunks of white chocolate (60-100g/4 to 6oz, to make 60g/2oz of curls)
1. To make the pastry cream, combine the milk and coconut in a medium saucepan. Scrape the seeds from the vanilla bean and add both the seeds and pod to the milk mixture. Place the saucepan over medium-high heat and stir occasionally until the mixture almost comes to a boil.
2. In a bowl, whisk together the eggs, sugar, and flour until well combined. Temper the eggs (to keep them from scrambling) by pouring a small amount (about 1/3 Cup) of the scalded milk into the egg mixture while whisking. Then add the warmed egg mixture to the saucepan of milk and coconut. Whisk over medium-high heat until the pastry cream thickens and begins to bubble. Keep whisking until the mixture is very thick, 4 to 5 minutes more. Remove the saucepan from the heat. Add the butter and whisk until it melts. Remove and discard the vanilla pod. Transfer the pastry cream to a bowl and place it over a bowl of ice water. Stir occasionally until it is cool. Place a piece of plastic wrap directly on the surface of the pastry cream to prevent a crust from forming and refrigerate until completely cold. The pastry cream will thicken as it cools.
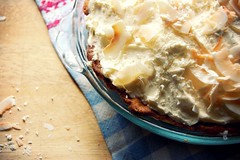
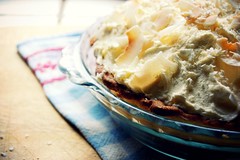
3. When the pastry cream is cold, fill the prebaked pie shell with it, smoothing the surface. In an electric mixer with the whisk, whip the heavy cream with the sugar and vanilla on medium speed. Gradually increase the speed to high and whip to peaks that are firm enough to hold their shape. Fill a pastry bag fitted with a star tip with the whipped cream and pipe it all over the surface of the pie, or spoon it over.
4. For the garnish, if not using pre-toasted coconut, heat the oven to 180°C. Spread the coconut chips on a baking sheet and toast in the oven, watching carefully and stirring once or twice, since coconut burns easily, until lightly browned, 7 to 8 minutes. Use a vegetable peeler to scrape about 2 ounces of the white chocolate into curls.
Decorate pie with white chocolate curls and the toasted coconut.
Coconut Pie Shell
180g (1 cup + 2 tbsp) plain flour
120ml - don't know weight- (1/2 cup) dessicated coconut
115g (1 stick) cold unsalted butter, cut into 1/2 inch cubes
2 tsp sugar
1/4 tsp salt
80ml (1/3 cup) ice water, or more as needed
In a food processor, combine the flour, coconut, diced butter, sugar, and salt. Pulse to form course crumbs. Gradually add the water while pulsing. Use only as much water as needed for the dough to hold together when gently pressed between your fingers. You don’t want to work the dough with your hands; you just want to make sure the dough is holding. The dough will be quite loose.
Place a large piece of plastic wrap on the counter and dump the coconut dough on top. Pull the edges of the wrap around the dough, forming a rough flat round. Chill for 30 minutes to an hour before rolling.
Once chilled, unwrap the dough and place onto a lightly floured surface. Using a floured rolling pin, roll out the dough into a 1/8-inch thick circle. Add more flour if the round sticks to the surface. Trim to a 12- to 13-inch circle.
Transfer dough to a 9-inch pie plate. Ease the dough into the plate. Take care to not stretch the dough as it will shrink during baking. Trim any excess dough to a 1- to 1 1/2-inch overhang. Turn the dough under the edge of the pie plate and flute the edge with your finger. Chill at least one hour before baking (I put it in the freezer). This will help prevent shrinkage during baking.
Pre-heat oven to 200C. Place a sheet of foil or parchment paper in the pie shell and fill with pie weights (or dried beans) to prevent bubbling. Bake 20-25 minutes until golden. Remove the pie weights and foil and continue to bake another 10-12 minutes, or until the bottom of the crust has golden brown patches. Allow to cool before filling.
Note: The dough can be made ahead and stored in the refrigerator for 1-2 days, or in the freezer for a few weeks.


